Introduction
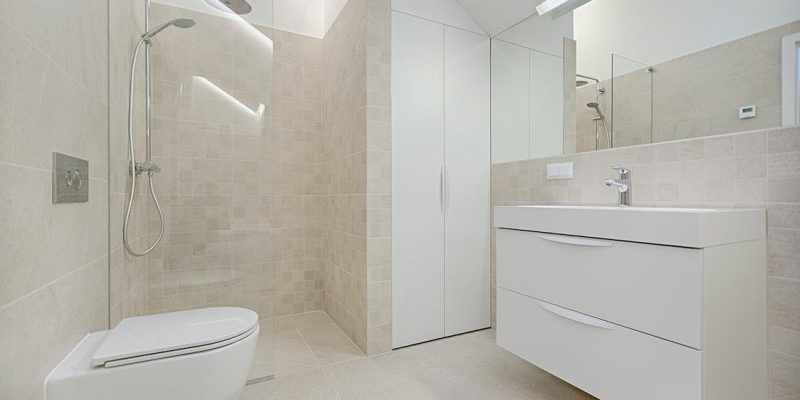
When it comes to home improvement projects, removing a bathroom cabinet might seem like a daunting task.
However, with the right tools and a step-by-step approach, you can successfully tackle this project and give your bathroom a fresh look.
In this guide, we’ll walk you through 10 essential steps on How to Remove Bathroom Cabinet.
Step 1: Gather Your Tools and Supplies
Before you start the removal process, make sure you have all the necessary tools and supplies. You’ll likely need a screwdriver, pliers, a utility knife, a pry bar, and a drill.
Additionally, have a bucket or container on hand to keep track of screws and small parts. Safety should always be a priority, so don’t forget to wear protective gear such as gloves and safety glasses.
Step 2: Empty the Cabinet
Begin by emptying the contents of the bathroom cabinet. Remove toiletries, cleaning supplies, and any other items stored inside.
This will make the cabinet lighter and easier to handle during the removal process. Take this opportunity to declutter and organize your bathroom essentials.
Step 3: Turn Off the Water Supply
If your bathroom cabinet is fitted with a sink, you’ll need to turn off the water supply before proceeding. Locate the shut-off valves under the sink and turn them clockwise to cut off the water flow.
This step is crucial to avoid any water damage during the removal process.
Step 4: Disconnect Plumbing Connections
Carefully disconnect the plumbing connections beneath the sink. Use a wrench to loosen the nuts connecting the water supply lines and the drainpipe.
Have a bucket or towel ready to catch any residual water. Once the plumbing is disconnected, you can move on to the next steps with confidence.
Step 5: Remove Drawers and Shelves
Most bathroom cabinets come with drawers and shelves that can be removed independently. Take out all drawers and shelves to reduce the weight and make the cabinet easier to handle.
This step also ensures that these components won’t be damaged during the removal process.
Step 6: Loosen and Remove the Countertop
If your bathroom cabinet has a countertop, it’s time to loosen and remove it. Check for screws or adhesive securing the countertop to the cabinet.
Use a screwdriver or utility knife to detach any screws or cut through adhesive. Carefully lift the countertop, ensuring it doesn’t crack or break during removal.
Step 7: Unscrew the Cabinet from the Wall
Locate the screws securing the bathroom cabinet to the wall. Typically, these screws are located inside the cabinet or at the back.
Use a screwdriver or drill to unscrew and remove them. Enlist the help of a friend if the cabinet is large or heavy to ensure a safe removal process.
Step 8: Detach the Cabinet from the Floor
Once the cabinet is detached from the wall, check if it’s also secured to the floor. Some cabinets may have screws or nails securing them to the floorboards.
Carefully inspect and remove any fasteners, ensuring you don’t damage the flooring in the process.
Step 9: Pry the Cabinet Away from the Wall
With the cabinet now detached from both the wall and floor, use a pry bar to gently pry it away from the wall. Take your time and work slowly to avoid damaging the wall or surrounding areas.
If the cabinet is stuck due to caulking or adhesive, use a utility knife to cut through and loosen the bond.
Step 10: Dispose of the Cabinet Responsibly
Congratulations, you’ve successfully removed the bathroom cabinet! To complete the project, dispose of the cabinet responsibly.
If the cabinet is in good condition, consider donating it to a local charity or Habitat for Humanity. If it’s no longer usable, check with your local waste disposal services for proper disposal methods.
Conclusion On How to Remove Bathroom Cabinet
Removing a bathroom cabinet may seem like a complex task, but by following these 10 steps, you can tackle the project with confidence.
Remember to take your time, use the right tools, and prioritize safety throughout the process. Once the cabinet is removed, you’ll have a blank canvas to explore new design possibilities and create a fresh, updated look for your bathroom.


Comments